


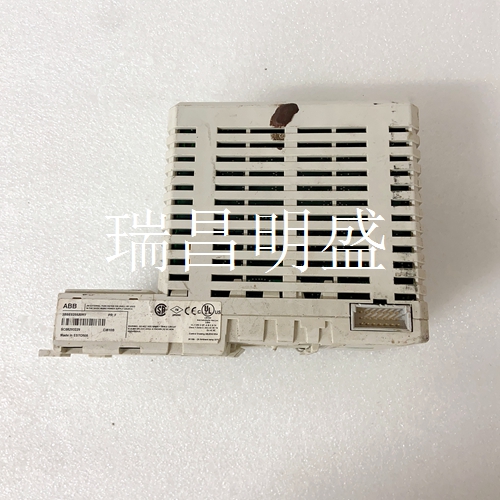
PP886M 3BSE092984R1系统模块卡件
注意:存在设备损坏的风险。通信适配器包含ESD(静电放电)敏感部件,如果不遵守ESD控制程序,这些部件可能会损坏。处理适配器时需要采取静电控制预防措施。如果您不熟悉静电控制程序,请参阅出版物8000-4.5.2!注意:存在设备损坏的风险。在面板或DIN导轨安装期间,确保防止任何碎屑(金属屑、线束等)落入通信套件中。落入套件中的碎屑可能会在通电时造成损坏。通信套件机柜底座通信套件机柜盖(内部安装有适配器)内部接口电缆(将机柜底座中的电源板连接到适配器)2面板安装使用尺寸图使用两个M4或#8平头螺钉(不包括在内)将通信套件安装到面板上。图2显示了安装尺寸。图2面板安装尺寸使用通信套件作为模板的面板安装程序以下步骤使您能够使用组装好的通信套件作为在面板上钻孔的模板。1.使用组装好的通信套件作为模板,仔细标记面板上两个孔的中心。2.将通信套件移到干净的位置。3.为推荐的M4或#8盘头螺钉(不包括在内)钻孔并轻敲安装孔。4.将通信套件放回面板上,检查孔是否对齐。5.使用安装螺钉将通信套件连接到面板。DIN导轨安装通信套件可使用以下DIN导轨安装:•35 x 7.5 mm(EN 50 022-35 x 7.5)•35 x 15 mm(EN 50022-35x 15)在将通信套件安装在DIN导轨上之前,打开DIN导轨闩锁。将通信套件的DIN导轨安装区域压在DIN导轨上,然后手动锁定DIN导轨闩锁(图3)。ATTENTION: Risk of equipment damage exists. The communications adapter contains ESD (Electrostatic Discharge) sensitive parts that can be damaged if you do not follow ESD control procedures. Static control precautions are required when handling the adapter. If you are unfamiliar with static control procedures, refer to Guarding Against Electrostatic Damage, publication 8000-4.5.2. ! ATTENTION: Risk of equipment damage exists. During panel or DIN rail mounting, be sure to prevent any debris (metal chips, wire strands, etc.) from falling into the Comms Kit. Debris that falls into the kit could cause damage on power up. Comms Kit Enclosure Base Comms Kit Enclosure Cover (with adapter mounted inside) Internal Interface Cable (connects power supply board in enclosure base to adapter) 2 Panel Mounting Using the Dimensional Drawing Mount the Comms Kit to a panel using two M4 or #8 panhead screws (not included). Figure 2 shows mounting dimensions. Figure 2 Panel Mounting Dimensions Panel Mounting Procedure Using Comms Kit as a Template The following procedure enables you to use the assembled Comms Kit as a template for drilling holes in the panel. 1. Using the assembled Comms Kit as a template, carefully mark the center of both holes on the panel. 2. Remove the Comms Kit to a clean location. 3. Drill and tap the mounting holes for the recommended M4 or #8 panhead screws (not included). 4. Place the Comms Kit back on the panel, and check for proper hole alignment. 5. Attach the Comms Kit to the panel using the mounting screws. DIN Rail Mounting The Comms Kit can be mounted using these DIN rails: • 35 x 7.5 mm (EN 50 022 - 35 x 7.5) • 35 x 15 mm (EN 50 022 - 35 x 15) Before mounting the Comms Kit on a DIN rail, open the DIN rail latch. Press the DIN rail mounting area of the Comms Kit against the DIN rail, and manually lock the DIN rail latch (Figure 3).
")
")

