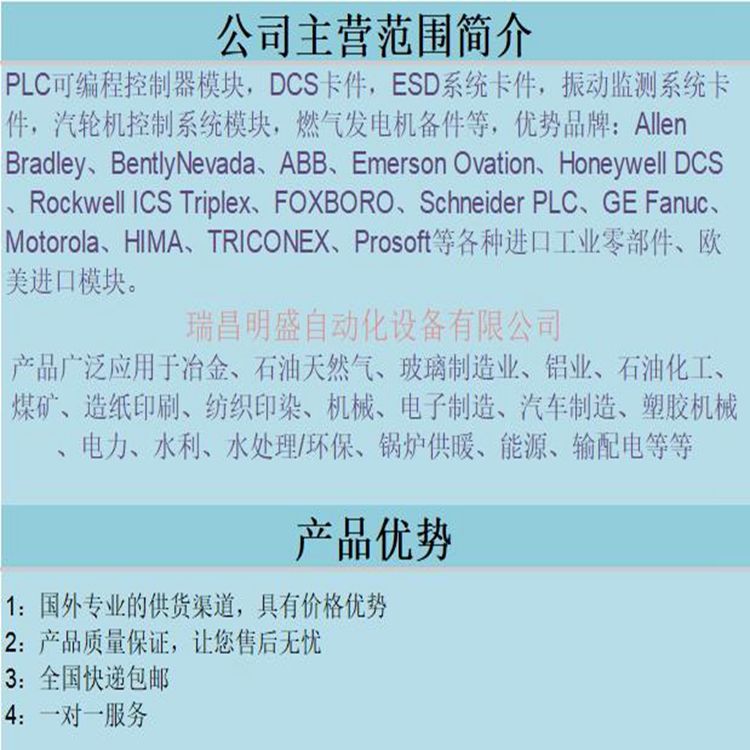
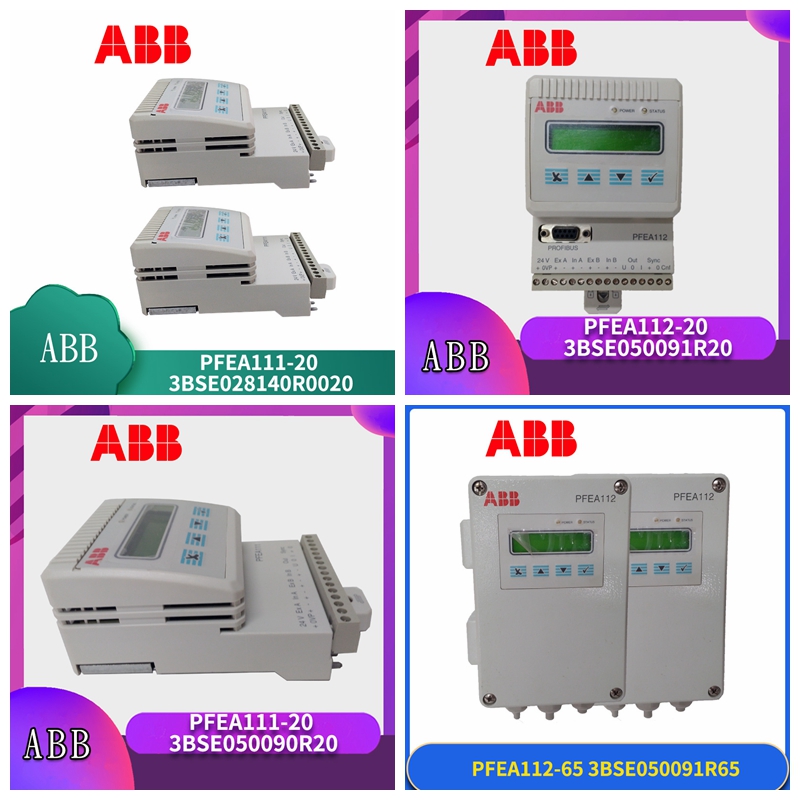
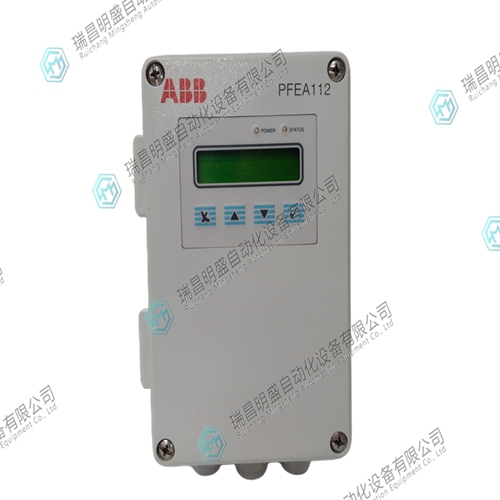
PFEA112-65 张力传感器
执行基本设置
当张力电子设备在交付后第一次通电时,要求您先设置语言,然后设置单元。必须执行这两个设置才能继续进行其余的设置。如果需要,可以稍后更改语言和单位。8执行快速设置快速设置引导您完成设置张力电子设备的最少步骤。要求您回答一些问题并输入所需的值。必须进行这些选择和参数设置,以使张力电子设备做好测量准备。快速设置中仅设置有限数量的选择和参数设置。所有其他参数均设置为出厂默认值。参见附录A4工厂默认设置。根据包裹增益的设置方式,可以通过两种方式进行快速设置。可以通过选择“HangWeight”或“EnterWrapGain”来设置包裹增益。•使用悬挂权重,请参见第81节。•使用包裹增益,请参阅第82节。悬挂权重和包裹增益在第125节中进行了说明。1使用和从列表中选择所需语言。默认设置为英语。用2从列表中选择所需的演示单位,并将N(牛顿)设置为默认值。用确认。按启动快速设置序列。参见第8节。如果您想进行完整设置,请按进入单独的设置菜单。参见第11节SetLanguage[英语]SetUnit[N]FastSetUp Tension Electronics PFEA111/112,用户手册第章调试-6 BSE02980R0001 81使用悬挂配重执行快速设置在张力系统中设置缠绕增益的最简单方法是使用已知的配重,该配重用一根完全沿着卷筒路径的绳索加载卷筒中心。图-1使用悬挂配重设置包裹增益(安装示例)按照以下步骤使用悬挂配重量运行快速设置。1按住5秒钟进入快速设置菜单。2按下启动快速设置序列。用和从列表中选择悬挂重量。用确认。4用或从列表中选取支撑辊(1或2)的称重传感器的数量。用确认5检查称重传感器铭牌上的标称载荷。用或从列表中选择标称载荷。用6 1确认辊上没有施加载荷。2按下归零设置。显示屏上显示“ActionDone”(操作完成)一秒钟,以确认调零操作。71在辊上施加已知重量(见图-1)。
输入已知重量的值
用称重传感器重量绳支撑辊确认所有辊必须是自由转动的托辊。为了保持低摩擦损失,仅使用最近的辊来定义卷筒纸路径。WebTension>5秒FastSetUp SetWrapGain[HangingWeights]CellsOnRoll[2]NominalLoad[1 kN 225 lbs]With NoTension PressOkToZeroSet HangWeightN Tension Electronics PFEA111/112,用户手册第81节使用Hanging Weights BSE02980R0001 -7 8选择Yes(是)并按下以设置电压输出。9输入对应于10 V的张力值。用确认。10用或从列表中选择阶跃响应时间(15、75、250或750 ms)。用确认11选择“是”并按下设置当前输出。用12输入对应于20 mA的张力值。用1从列表中选择阶跃响应时间(15、75、250或750 ms),用或确认。按14完成快速设置并进入操作员菜单。电压输出?[是]否是将张力设置为10VN阶跃响应时间[15]电流输出?[是]否是SetTensionAt20mAN StepResponseTime[15]到WebTension完成按下OK张力电子设备PFEA111/112,用户手册第章调试-8 BSE02980R0001 82使用缠绕增益1执行快速设置按下5秒进入快速设置菜单。2按下启动快速设置序列。用或从列表中选择WrapGain。用确认。4用或从表中选择支撑辊(1或2)的称重传感器的数量。用确认5检查称重传感器铭牌上的标称载荷。用或从列表中选择标称载荷。用6 1确认辊上没有施加载荷。2按下归零设置。显示屏上显示“ActionDone”(操作完成)一秒钟,以确认调零操作。7输入计算的包裹增益。有关缠绕增益的计算,请参见附录(B、C、D或E)中安装的称重传感器类型。用8确认。选择Yes(是),然后按设置电压输出。9输入对应于10 V的张力值。用确认。10用或从列表中设置阶跃响应时间(15、75、250或750 ms)。用确认11选择“是”并按下设置当前输出。12输入对应于20 mA的张力值。用确认。1用或从列表中选择阶跃响应时间(15、75、250或750 ms)。用确认14按完成快速设置并进入操作员菜单。
Perform basic setup
When the tension electronic equipment is powered on for the first time after delivery, you are required to set the language first, and then set the unit. You must perform these two settings to continue with the rest. If necessary, you can change the language and units later. 8 Perform Quick Setup Quick Setup to guide you through the minimum steps for setting the tension electronics. You are asked to answer some questions and enter the required values. These selections and parameter settings must be made to prepare the tension electronics for measurement. Only a limited number of selections and parameter settings are set in the quick setup. All other parameters are set to factory defaults. See Appendix A4 Factory Default Settings. According to the setting mode of the package gain, you can quickly set it in two ways. You can set the package gain by selecting "HangWeight" or "EnterWrapGain". • Using hanging weights, see Section 81. • Use parcel gain, see section 82. Suspension weights and package gains are described in Section 125. 1 Use and to select the desired language from the list. The default setting is English. Use 2 to select the desired presentation unit from the list and set N (Newton) as the default. Confirm with. Press to start the quick setup sequence. See Section 8. If you want to complete the settings, press to enter the separate settings menu. Refer to Section 11 SetLanguage [English] SetUnit [N] FastSetUp Tension Electronics PFEA111/112, Chapter 6 Commissioning of the User's Manual - 6 BSE02,980R0001 81 Quick Setting with Hanging Counterweight The easiest way to set the winding gain in the Tension system is to use a known counterweight, which loads the center of the drum with a rope completely along the path of the drum. Figure-1 Setting the package gain using the suspended counterweight (installation example) Follow the steps below to run the quick setup using the suspended counterweight. 1 Press and hold for 5 seconds to enter the quick setting menu. 2 Press to start the quick set sequence. Use and to select the suspension weight from the list. Confirm with. 4 Use or select the number of load cells of the support roll (1 or 2) from the list. Check the nominal load on the load cell nameplate with confirmation 5. Select the nominal load from the list using or. Use 6 1 to confirm that no load is applied to the roll. 2 Press the reset setting. The display shows "ActionDone" for one second to confirm the zero setting operation. 71 Apply a known weight to the roll (see Figure - 1).
Enter a value for a known weight
Use the weight rope support roller of the load cell to confirm that all rollers must be free rotating idlers. To maintain low friction losses, only the nearest roll is used to define the web path. WebTension>5s FastSetUp SetWrapGain [HangingWeights] CellsOnRoll [2] NominalLoad [1 kN 225 lbs] With NoTension PressOkToZeroSet HangWeightN Tension Electronics PFEA111/112, section 81 of the user manual uses Hanging Weights BSE02980R0001 - 7 8 to select Yes and press to set the voltage output. 9 Enter the tension value corresponding to 10 V. Confirm with. 10 Select the step response time (15, 75, 250, or 750 ms) with or from the list. Select "Yes" with confirmation 11 and press to set the current output. Use 12 to enter the tension value corresponding to 20 mA. Select the step response time (15, 75, 250 or 750 ms) from the list with 1 and confirm with or. Press 14 to complete the quick setup and enter the operator menu. Voltage output? [Yes] Is the tension set to 10VN step response time [15] current output? [Yes] Yes No Yes SetTensionAt20mAN StepResponseTime [15] Press OK tension electronic device PFEA111/112 after the WebTension is completed. In Chapter Debugging of User's Manual - 8 BSE02980R0001 82, use winding gain 1 to perform quick setting. Press 5 seconds to enter the quick setting menu. 2 Press to start the quick set sequence. Select WrapGain from the list with or. Confirm with. 4 Select the number of load cells of the support roll (1 or 2) with or from the table. Check the nominal load on the load cell nameplate with confirmation 5. Select the nominal load from the list using or. Use 6 1 to confirm that no load is applied to the roll. 2 Press the reset setting. The display shows "ActionDone" for one second to confirm the zero setting operation. 7 Enter the calculated package gain. For the calculation of the winding gain, see Appendix (B, C, D or E) for the type of load cell installed. Confirm with 8. Select Yes and press Set Voltage Output. 9 Enter the tension value corresponding to 10 V. Confirm with. 10 Set the step response time (15, 75, 250, or 750 ms) with or from the list. Select "Yes" with confirmation 11 and press to set the current output. 12 Enter the tension value corresponding to 20 mA. Confirm with. 1 Select the step response time (15, 75, 250, or 750 ms) with or from the list. Press OK 14 to complete the quick setup and enter the operator menu.


