


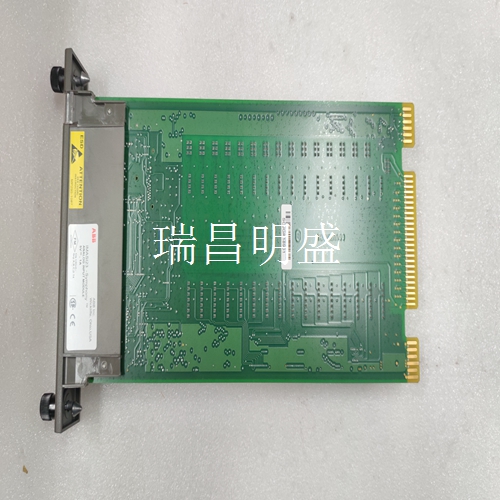
DSMB175 工控备件
使用说明
完成与机架中所有模块的连接后,必须固定线束。为确保电线束正确固定,建议将电缆扎带缠绕在电线束上,并通过位于端子板右下角的电缆扎带夹子牢牢固定。对于非常大的线束,应使用额外的电缆扎带。.每个模块都包含一个门标签插件,用于指示电路布线信息,并提供空间记录用户电路布线标识。铰链门上有一个插槽,用于插入此标签。如果标签难以插入,请在插入前将刻痕边缘折皱。外部标签有一条彩色编码条纹,可快速识别模块电压类型(蓝色:低电压;红色:高电压)。.现场接线完成后,应通过将端子板带(连接到每个模块)插入机架底部卡导向格栅中的小矩形槽中,将端子板牢固地固定到机架上。该带不仅将端子板固定在机架上,还提供了一种识别有线端子板及其正确匹配机架插槽位置的方法。.为了充分的模块通风,建议机架格栅上方和下方至少留有英寸(12mm)的间隙。线束不应妨碍机架格栅工作。卸下I/O模块从机架中的插槽卸下I/O模件时,应遵循以下说明。在板盖的顶部和底部牢牢抓住板,拇指放在板盖前部,手指放在板罩后部的塑料夹上。用手指挤压护盖背面的机架夹,使其与机架导轨脱离,然后用力拉动电路板,将其从背板连接器上卸下。沿卡导轨滑动板,然后将其从机架上卸下。
instructions
After connecting to all modules in the rack, the harness must be fixed. To ensure that the wire harness is properly secured, it is recommended to wrap the cable tie around the wire harness and secure it with the cable tie clip located in the lower right corner of the terminal block. For very large harnesses, additional cable ties should be used Each module contains a door label plug-in, which is used to indicate the circuit wiring information and provide space to record the user's circuit wiring identification. The hinged door has a slot for this label. If the label is difficult to insert, crease the edge of the notch before inserting it. The external label has a color coded stripe to quickly identify the module voltage type (blue: low voltage; red: high voltage) After the field wiring is completed, the terminal strip (connected to each module) shall be firmly fixed to the rack by inserting it into the small rectangular slot in the card guide grid at the bottom of the rack. This tape not only fixes the terminal board on the rack, but also provides a method to identify the wired terminal board and its correct matching slot position of the rack For adequate module ventilation, it is recommended that at least inches (12 mm) of clearance be left above and below the rack grille. The harness should not interfere with the operation of the rack grille. The following instructions should be followed when removing an I/O module from a slot in the rack. Grasp the board firmly at the top and bottom of the board cover, place your thumbs on the front of the board cover and your fingers on the plastic clips at the rear of the board cover. Press the rack clip on the back of the cover with your fingers to disengage it from the rack rails, and then pull the circuit board firmly to remove it from the backplane connector. Slide the board along the card rails and remove it from the rack.
编程软件的配置功能
功能24伏直流正/负逻辑输入模块提供32个输入点,分为四组,每组八个点。输入电流-电压特性符合IEC标准(类型1)规范。模块顶部包括LED指示灯,指示电路逻辑(PLC)侧各点的开-关状态。该模块采用机械键控,以确保现场使用类似类型的模块进行正确更换。I/O参考可由用户配置,无需在模块上使用跳线或DIP开关。通过以太网TCP/IP或SNP端口,使用在Windows 95或Windows NT上运行的MS-DOS或Windows编程软件的配置功能进行配置。编程软件配置功能安装在编程设备上。编程设备可以是IBM 文本,AT,PS/2 或兼容的个人计算机。
Configuration function of programming software
Function The 24V DC positive/negative logic input module provides 32 input points, which are divided into four groups with eight points each. The input current voltage characteristics comply with IEC standard (type 1) specifications. The top of the module includes LED indicators to indicate the on-off status of each point on the circuit logic (PLC) side. The module is mechanically keyed to ensure that similar types of modules are properly replaced on site. The I/O reference can be configured by the user without using jumpers or DIP switches on the module. Use the configuration function of MS-DOS or Windows programming software running on Windows 95 or Windows NT to configure through Ethernet TCP/IP or SNP ports. The programming software configuration function is installed on the programming device. The programming device can be IBM text, AT, PS/2 or compatible personal computer.
")
")
")

