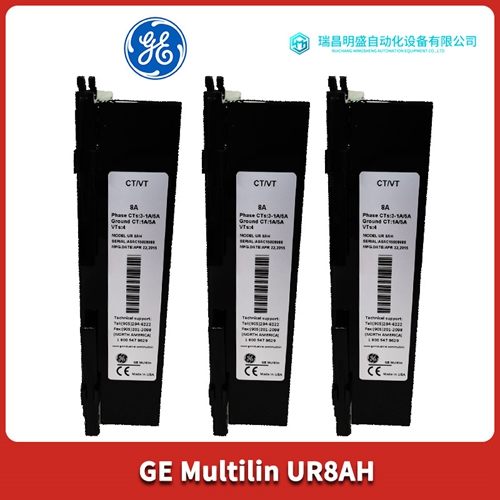
产品详情介绍
UR9KH综合保护装置
远程接通外部电压源1。将外部12-24 DC电源或12-24 VAC电源连接到TB4上的端子1和2。必须拆除端子2和3之间的连接。注:端子对直流极性敏感。端子1(正极)和端子2(负极)。干触点1。在TB4的端子2和3之间连接一个n/o电压开关或接触器。3.4远程启动/停止操作(24V远程开启选项不可用)启动/停止功能可以通过双线控制(单极、单掷、维护触点开关)或三线控制(常开“启动”按钮开关和常闭“停止”按钮开关)。继电器线圈工作电压可以从电源本身内部提供,也可以从远程电源外部提供。(功率继电器K1的线圈额定电压见主示意图)。注意:对于远程三线控制,前面板的START(启动)和STOP(停止)按钮仍可用作本地控制。通过远程双线控制,前面板START(启动)和STOP(停止)按钮被禁用。警告:配备过电压保护选项的装置不应使用双线控制,因为在OVP跳闸的情况下,电源继电器K1会反复打开和关闭,可能会损坏OVP和其他部件。3.4.1三线控制,内部电源拆除端子TB2-1和2之间的跳线。将“停止”开关(常闭)连接在端子TB2-1和2之间,将“启动”开关(常开)连接到端子TB2-2和3之间。
三线控制,外部电源
拆除端子TB2-1和2之间以及端子TB2-4和5之间的跳线。连接端子TB2-2和3之间的“启动”开关。连接端子TB 2-2和外部电源一侧之间的“停止”开关。将外部电源的另一侧连接到端子TB2-4。3.4.3双线控制,内部电源拆除端子TB2-1和2之间的跳线。连接端子TB2-1-和3之间的开关。3.4.4双线控制、外部电源拆除端子TB 2-1和2中以及端子TB2-4-5之间的跳线。在端子TB2-3和外部电源一侧之间连接开关。将外部电源的另一侧连接到端子TB2-4。3.4.5远程联锁拆除端子TB2-4~5之间的跳线。任何数量的联锁触点都可以与这些端子串联,以抑制电源继电器K1的操作。这些触点可能与检修门、冷却系统、电源顺序继电器等相关。调整程序1。将电压控制完全逆时针设置,电流和OV ADJ控制完全顺时针设置。将电源开关转到“ON”位置,然后按下START(启动)按钮。2.使用电压控制将输出电压设置为所需的跳闸点。3.逆时针缓慢转动OV ADJ控制,直到OVP跳闸。这由两个模式指示灯熄灭和主接触器断开指示。4.完全逆时针设置电压控制。5.等待2分钟。6.按下START(启动)按钮,用voltage(电压)控制缓慢增加输出电压,以验证OVP在正确电压下跳闸。
REMOTE TURN-ON
External Voltage Source 1. Connect either an external 12-24 DC voltage supply or a 12-24 VAC voltage supply to terminals 1 and 2 on TB4. The link between terminals 2 and 3 must be removed. NOTE: Terminals are polarity sensitive to DC. Terminal 1 (plus) and Terminal 2 (negative). Dry Contact 1. Connect an n/o voltage switch or contactor between terminals 2 and 3 of TB4. 3.4 REMOTE START/STOP OPERATION (NOT AVAILABLE WITH 24V REMOTE TURN-ON OPTION) The start/stop function may be controlled from a remote location by means of either two wire control (single-pole, single-throw, maintenance contact switch) or three wire control (normally open "start" push button switch and normally closed "stop" push button switch). Relay coil operating voltage can be supplied internally from the power supply itself, or externally from a remote source. (See main schematic diagram for coil voltage rating of power relay K1). NOTE: With remote three wire control, the front panel START and STOP buttons still function as local controls. With remote two wire control, the front panel START and STOP buttons are disabled. CAUTION Two wire control should not be used on units equipped with the overvoltage protection option, since in the event the OVP trips, the power relay K1 will open and close repeatedly, probably causing damage to the OVP and other components. 3.4.1 THREE-WIRE CONTROL, INTERNAL SOURCE Remove the jumper between terminals TB2-1 and 2. connect the "Stop" switch (normally closed) between terminals TB2-1 and 2 and the "Start" switch (normally open) between terminals TB2-2 and 3.
THREE-WIRE CONTROL, EXTERNAL SOURCE
Remove the jumpers between terminals TB2-1 and 2 and between terminals TB2-4 and 5. Connect the "Start" switch between terminals TB2-2 and 3. Connect the "Stop" switch between terminals TB2-2 and one side of the external source. Connect the other side of external source to terminal TB2-4. 3.4.3 TWO-WIRE CONTROL, INTERNAL SOURCE Remove the jumper between terminals TB2-1 and 2. Connect the switch between terminals TB2-1 and 3. 3.4.4 TWO-WIRE CONTROL, EXTERNAL SOURCE Remove the jumpers between terminals TB2-1 and 2 and between terminals TB2-4 and 5. Connect the switch between terminal TB2-3 and one side of the external source. Connect the other side of the external source to terminal TB2-4. 3.4.5 REMOTE INTERLOCK Remove the jumper between terminals TB2-4 and 5. Any number of interlock contacts may be connected in series with these terminals to inhibit operation of power relay K1. These contacts may be associated with access doors, cooling systems, power sequencing relays, etc.ADJUSTMENT PROCEDURE 1. Set the VOLTAGE control fully counterclockwise, and the CURRENT and OV ADJ controls fully clockwise. Turn the power switch to the "ON" position and press the START button. 2. Set the output voltage to the desired tripping point with the VOLTAGE control. 3. Turn the OV ADJ control slowly counterclockwise until the OVP trips. This is indicated by both mode indicator lights being extinguished and the main contactor disengaging. 4. Set the VOLTAGE control fully counterclockwise. 5. Wait 2 minutes. 6. Press the START button and increase the output voltage slowly with the VOLTAGE control to verify that the OVP trips at the correct voltage.
产品优势
1:国外专业的供货渠道,具有价格优势
2:产品质量保证,让您售后无忧
3:全国快递包邮
4:一对一服务
公司主营范围简介
PLC可编程控制器模块,DCS卡件,ESD系统卡件,振动监测系统卡件,汽轮机控制系统模块,燃气发电机备件等,优势品牌:Allen Bradley、BentlyNevada、ABB、Emerson Ovation、Honeywell DCS、Rockwell ICS Triplex、FOXBORO、Schneider PLC、GE Fanuc、Motorola、HIMA、TRICONEX、Prosoft等各种进口工业零部件、欧美进口模块。
产品广泛应用于冶金、石油天然气、玻璃制造业、铝业、石油化工、煤矿、造纸印刷、纺织印染、机械、电子制造、汽车制造、塑胶机械、电力、水利、水处理/环保、锅炉供暖、能源、输配电等等


