


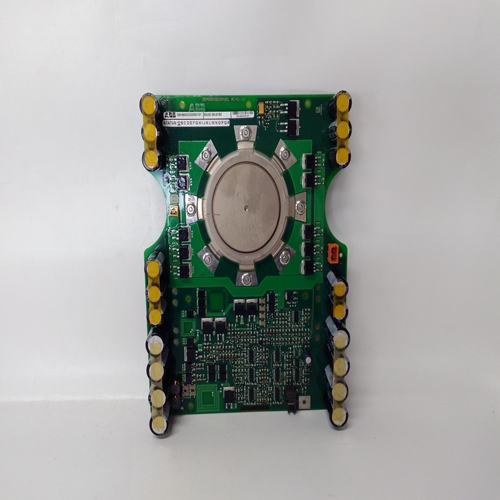
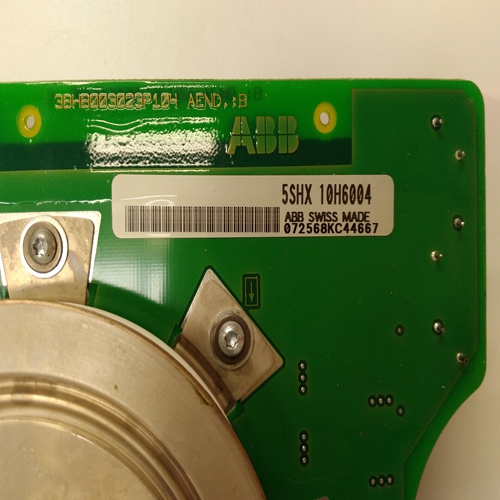
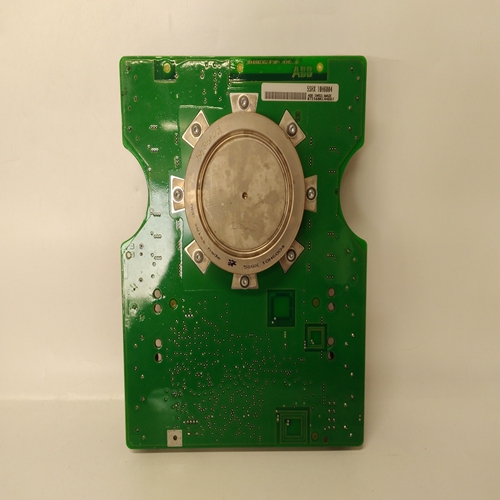
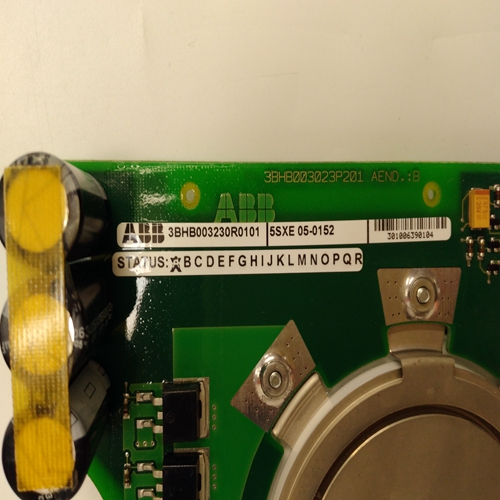
5SHX10H6004可控硅模块
System 57控制器安装程序概述如下:
如下所示:
a、 打开包装并检查设备。
b、 确定合适的位置并检查布线要求。
c、 确认电源要求。
d、 根据需要安装机柜、19“安装框架或面板切口。
e、 将系统57机架安装到机柜、19“安装框架或面板切口。
f、 将传感器和导线安装回系统57。
g、 检查并在必要时重新配置单通道控制卡。
h、 将传感器连接至现场接口/继电器卡接线板。
i、 连接现场接口/继电器卡接线板的输出。
j、 将电源连接到直流输入卡。
安装完成后,执行调试程序
如第5章所述。
本章以下各节详细解释了安装操作。开箱
收到时:a、 仔细打开设备包装,遵守打印的任何说明在包装上或包含在包装中。
b、 检查内容物在运输过程中是否损坏,并检查包装注意缺陷。
c、 找到装置随附的配置表并确认每个通道卡类型和设置与建议的传感器。
位置控制系统必须安装在安全区域,如控制器或设备室,远离热源,具有足够的
通风良好,不受天气影响。
有两种不同的System 57机架配置可容纳:前或后现场接线入口。每个配置在中都可用半宽或全宽19英寸。三种最常见的安装方法是:
a、 19“安装架系统57 19英寸6U前和3U后检修机架兼容
采用标准19英寸(483mm)子架格式,因此安装在任何合适的19”安装框架中。
b、 内阁壁挂式机柜有两种尺寸,可容纳:19英寸和半19英寸6U前检修机架组件。
c、 面板或者,所有机架都适合直接安装到面板中开孔。
可提供19英寸和半19英寸1U格式的电源装置,
用于使用交流输入电源的应用。它是建议将电源装置直接安装在上方系统57机架。
INTRODUCTION
A summary of the System 57 controller installation procedures is
shown below:
a. Unpack and check the equipment.
b. Identify a suitable location and check the cabling requirements.
c. Confirm the power supply requirements.
d. Install the Cabinet, 19" Mounting Frame or Panel Cutout as required.
e. Fit the System 57 rack into the Cabinet, 19" Mounting Frame or
Panel Cutout.
f. Install the sensors and wire back to the System 57.
g. Check, and if necessary reconfigure, the Single Channel Control
Cards.
h. Wire the sensors to the Field Interface/Relay Card terminal blocks.
i. Wire the outputs from Field Interface/ Relay Card terminal blocks.
j. Wire the power supply to the DC Input Card.
After installation is complete perform the commissioning procedures
outlined in Chapter 5.
The following sections of this chapter provide a detailed explanation of
the installation operations.
UNPACKING
On receipt:
a. Carefully unpack the equipment observing any instructions printed
on or contained in the packaging.
b. Check the contents for transit damage and against the packing
note for deficiencies.
c. Locate the configuration sheet supplied with the unit and confirm
that each channel card type and settings are compatible with the
proposed sensors.
LOCATION
The control system must be installed in a safe area such as a control
or equipment room, away from sources of heat, with adequate
ventilation and protected from the weather.
There are two different System 57 rack configurations to accommodate
either front or rear field wiring entry. Each configuration is available in
half or full 19" width. The three most common mounting methods are:
a. 19" Mounting Frame
The System 57 19" 6U front and 3U rear access racks are compatible
with the standard 19" (483mm) sub-rack format and may therefore
be fitted into any suitable 19" mounting frame.
b. Cabinet
Wall mounting cabinets are available in two sizes to accommodate
the 19" and half 19" 6U front access rack assemblies.
c. Panel
Alternatively all the racks are suitable for fitting directly into a panel
cutout aperture.
Power supply units are available, in both 19" and half 19" 1U formats,
for applications where an ac input power source is to be used. It is
recommended that the power supply units are mounted directly above
the System 57 rack.

